HOW-TO: CHANGING THE CAR BATTERY

HERE’S HOW TO DO IT.

Replacing the battery correctly without losing the radio code. It’s this easy.

Follow the instructions below and of course, always read the manual provided by the vehicle manufacturer. Then you’ll be able to “do it yourself” and replace your battery without losing the radio code.

Please note when changing batteries: If possible, always use the same housing and similar performance class. PS: Minor deviations in capacity or cold start have no effect on safe starting and optimum on-board power supply!

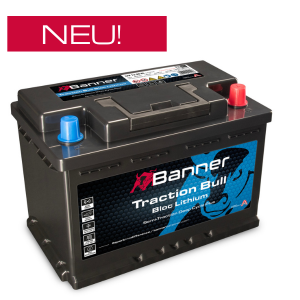
Good to know about battery technology! Never install a conventional wet-cell battery in a vehicle with a start-stop function that is fitted with an EFB or AGM battery as standard. If necessary, an EFB or AGM battery must be used again!

When upgrading technology from an EFB to an AGM battery, the new battery must be programmed into the system for start-stop vehicles with a battery energy management system (BEM)!

These instructions apply for vehicles with and without battery energy management (BEM) or with and without start-stop function, if the new battery does not need to be registered.

If your car has battery energy management (BEM) or start-stop function recommending or requiring registration of the new battery, then read on.

How-to: Correctly registering start-stop batteries.

What should I pay attention to when changing start-stop batteries?

To protect against theft, some vehicle manufacturers deactivate the radio in the event of a power failure until a special security code has been entered. Many people don’t know what this security code is or how to enter it. Banner is here to help – with everything you need to know about battery replacement without interrupting the power supply of your vehicle and losing the radio code.


Maximum tightening torques briefly noted:

  • Fasten battery with base hold down - max. 15 Nm (Newton metres).

  • Battery connection plus and minus terminal - max. 4 Nm

Pro tip on the tools and materials you need:

  1. Open-ended or ring spanner – usually 8, 10, 12 and 13 mm are suitable.
  2. Ratchet (rod, screwdriver) with extension and sockets – 8, 10, 12 and 13 mm are usually sufficient.
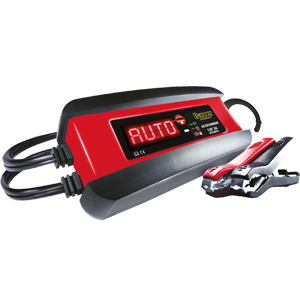
  3. Memory Saver for external voltage maintenance via the OBD (On Board Diagnostic) connector.
  4. Don’t forget safety goggles and gloves (anti-static or ESD).
  5. Terminal protection spray or grease to protect the battery terminals. Prevents the formation of corrosion and contact resistance. 
  6. A torch and magnetic rod can make work much easier! The torch provides good visibility and the magnetic rod helps to pick up the screw if a floor moulding tensioner needs to be loosened. This is often difficult or impossible to reach by hand due to the cramped installation situation.

If you don’t have these at hand, please do not try to do it yourself. In this case, it’s better to have this done 

by a Banner sales partner.


Safety tip: Avoid short circuits caused by tools.

Batterie wechseln
Banner HOW-TO: Changing the car battery – here’s how to do it

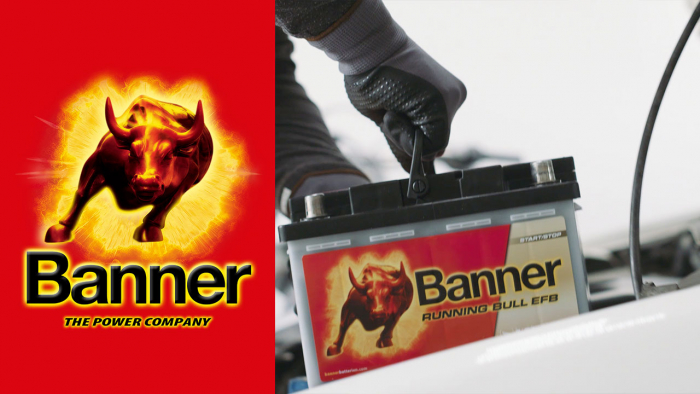
Changing the car battery – here’s how to do it.

  • Locating your battery

    Open the bonnet and find the battery. In many cases, the battery will be in a plastic compartment or inside padded thermal protection.

    Please note that in some cases, the battery may also be installed in the boot or passenger compartment. This information can often be found in the vehicle’s manual.

    However, this does not affect the procedure for changing the battery.

  • External voltage retention

    To back up all vehicle settings and data, connect the voltage saver (e.g. Memory Saver) to the OBD socket (power outlet) . This procedure also prevents the subsequent deletion of the entry “Voltage interruption” in the error memory.

    Banner tip: The location of the OBD connection in a particular car, sometimes hidden by covers, can usually be quickly found in the owner's manual for the vehicle. Or through an online search of the internet. There are also apps and online services that will hopefully provide the correct answer when you enter the make and model. It is mandatory for the OBD interface to be located within one metre of the driver’s seat. It is therefore always placed in the passenger compartment, not in the engine or luggage compartment. Often, it is integrated in or under the dashboard on the driver’s side or near the centre console.  

  • Changing the battery

    It is essential to observe the warning information on the battery and in the vehicle’s manual.

    Only install a battery with an off-load voltage of >12.5 V.

    Before removing the battery, switch off the engine and all power consumers. Remove the ignition key; do not leave it in the ignition switch. Do not leave the radio key in the car.

    Avoid short circuits caused by tools.

    Change the battery in the vehicle.

    When removing the battery, first disconnect the negative terminal (-), then the positive terminal (+).

    Now check how the replacement battery is to be mounted. With many European car manufacturers, a baseboard bracket can often be found underneath the battery. In other cases, usually with Japanese and South Korean car manufacturers, there is a bracket mounting on top of the battery. 

  • Changing the battery – Part 2

    After you have found out how the battery is mounted, you can start with removing it. If the baseboard bracket is underneath, you will usually need a ratchet with extension and socket. If there is a bracket mounting is on the top, an open-ended or ring wrench is usually enough.

    Before installing the new battery, clean the mounting space in the vehicle.

    Secure the new battery firmly in place.

    Clean battery terminals and terminal clamps and lubricate them with acid-free grease.

    For installation, proceed in reverse order, i.e. first connect the positive terminal (+) and then the negative terminal (-). Ensure that the terminal clamps are firmly attached.

    Original attachments/sheathings must be refitted. Caution! If there is a black or blue negative terminal cover - to prevent accidental connection of the charger, booster or jump-start cable - to the negative terminal, it must be refitted! As we know, the black negative clamp must always be connected to earth when recharging or jump-starting.

  • Removing the external voltage retention

    After the battery has been replaced, the Memory Saver can be removed.

  • Step 5 – Test start

    Now, start the engine to ensure that the new battery has been installed and connected correctly. “VROOOM” – is usually a good sign. Now switch on the car radio. Perfect, the radio code is present and full sound is guaranteed.


    Please note: For vehicles with “Keyless Go & Entry” systems, it is important to ensure that many control units in the vehicle are ready when the keycard or key is close to the vehicle.

    Banner tip: For safety reasons, always use a

    degassing tubewhen installing the battery inside the vehicle, as this will discharge the gases to the outside.  

Bild 1 von 6


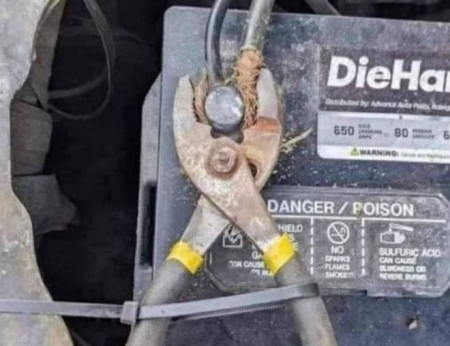
Brief Banner tip: Ensure that the terminal clamps are firmly seated!


Maximum tightening torques noted again: Battery connection positive and negative terminals - max. 4 Nm.

One look at the picture is enough, oops, that must have been thoroughly misunderstood.


Not like this, no terminal connection without battery clamp!

The Banner buffalo wishes you a pleasant onward journey and always a safe start.


PS: We hope that you’ve been able to follow these instructions without any issues. If you have any questions, please contact your Banner customer service representative, your Banner sales partner or contact us directly online.

Please accept the marketing cookies to see the content