HOW-TO: TESTING A BATTERY

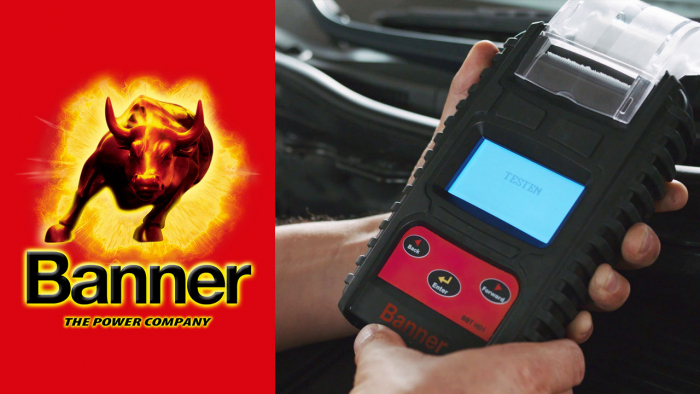
CORRECTLY CHECKING THE BATTERY WITH TEST DEVICES

Correctly checking the battery with the right testing devices.


Follow the instructions below and, of course, always read the operating instructions for the testing device. You can also find information on personal safety procedures in the operating instructions – please always keep these in mind – Safety first.

The information provided here is intended to serve as a rough guide for using all Banner test devices.

It's best to test it right away!
Because with a battery check you are now on the safe side and can (almost) always avoid starting problems.
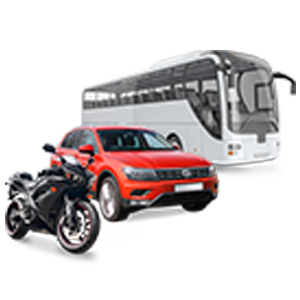
This is especially important if you are about to visit grandma and grandpa, make a quick trip to the shopping centre, are a breakdown driver, are going on a well-deserved holiday or simply enjoy individual mobility.

Batterie testen
Banner HOW TO: Testing batteries – how to do it properly.

Testing batteries – how to do it properly.

  • Locating your battery

    Open the bonnet and find the battery. In many cases, the battery will be in a plastic compartment or inside padded thermal protection.

    Please note that in some cases, the battery may also be installed in the boot or passenger compartment. This information can often be found in the vehicle’s manual.

  • Preparing for testing

    When testing, ensure that the area around the battery is well ventilated. Next, clean the battery terminals while watching out for any electrostatic discharge. During testing, the battery should remain in the vehicle; switch off the ignition and all consumers before performing the battery test on the vehicle. Close the doors and the boot.

    Caution: As long as the testing device is not connected to the vehicle battery, the display will be blank and there will be no On/Off switch.

  • Testing the battery

    After preparing for testing, clamp the black cable from the battery tester to the negative terminal of the vehicle battery and the red cable to the positive terminal. Once the terminals are connected to the battery, the first thing that will appear on the display is “Battery test“. Press the right arrow key ◄ ► to select “System test “, “Language selection“, “Test counter“, “Date“, “Brightness“ and “Adjust“. Select one of the desired parameters by pressing “Enter“ and then follow the instructions on the display. Further steps and detailed information can be found in the operating instructions.

    If the printer is out of paper, open the cover and insert paper to allow it to run automatically into the printer.

  • Testing the battery – Part 2

    Once you have returned to “Battery test“, press “Enter“ to start the test. The display will then show the current battery voltage and other information. In the next step, select the battery type using the arrow keys ◄ ►: LEAD-ACID BATTERY (e.g. for Banner Starting Bull/Power Bull/Running Bull EFB), AGM FLAT PLATE (e.g. for Banner Running Bull AGM), AGM SPIRAL, VRLA/GEL. Confirm your selection using «ENTER». Next, the testing standard: EN, SAE, IEC, DIN or JIS should be selected with the arrow keys ◄ ►; confirm this with «ENTER».

    Banner recommends always taking EN 50.342:2016 as a basis.

  • Testing the battery – Part 3

    Next, use the arrow keys to select the cold start current value in EN ◄ ►.

    EN 40~2100 (see cold start information on the battery being tested)

    If the vehicle has been in operation or the battery charged just before testing, a surface charge will be present in the battery. The device may prompt you to eliminate this surface charge before beginning the test.

    Follow the instructions on the display.

    Select one of the options with the arrow keys ◄ ►. Battery charged: YES or NO. Confirm using «ENTER».

    After the test has ended, the LED display will show the current voltage and the EN cold start value (depending on the setting) or %. (To choose between SOH (BATTERY CONDITION) or SOC (CHARGE LEVEL), press the arrow keys ▲\▼).

  • Test result

    After the test, one of the following six possible results will be displayed: Good & Passed, Good & Charge, Charge & Test, Defective/Replace, Cell Defective, Load Error/Replace.


    After the result, press «ENTER» for the TESTCODE; the code will appear as a BARCODE. Please note that the BARCODE scanner here only supports the CODE39 format. à For how to use the BARCODE’, read the operating instructions.

    By confirming YES or NO with «ENTER», you can use the arrows ◄ ► to specify whether the result should be printed.

  • Testing complete.

    To end the test, remove the cables from the battery terminals; when the cables are removed, the display will be blank and the device will be switched off. The settings will be saved until the next battery test.

  • negativer Pol, postitiver Pol, Batterietester
  • Batterietester, Batterietyp
  • Batterieteter, Testergebnis drucken
Bild 1 von 7

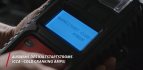
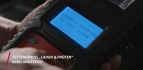
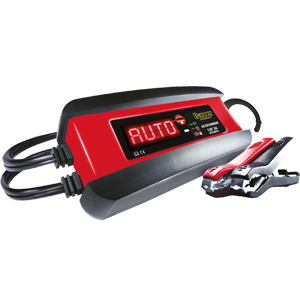
With Banner test devices, you can test charging conditions, functionalities and much more. Easy, safe, reliable and quick.  

Моля, приемете Маркетингови бисквитки, за да видите съдържанието